

How the two machines are joined
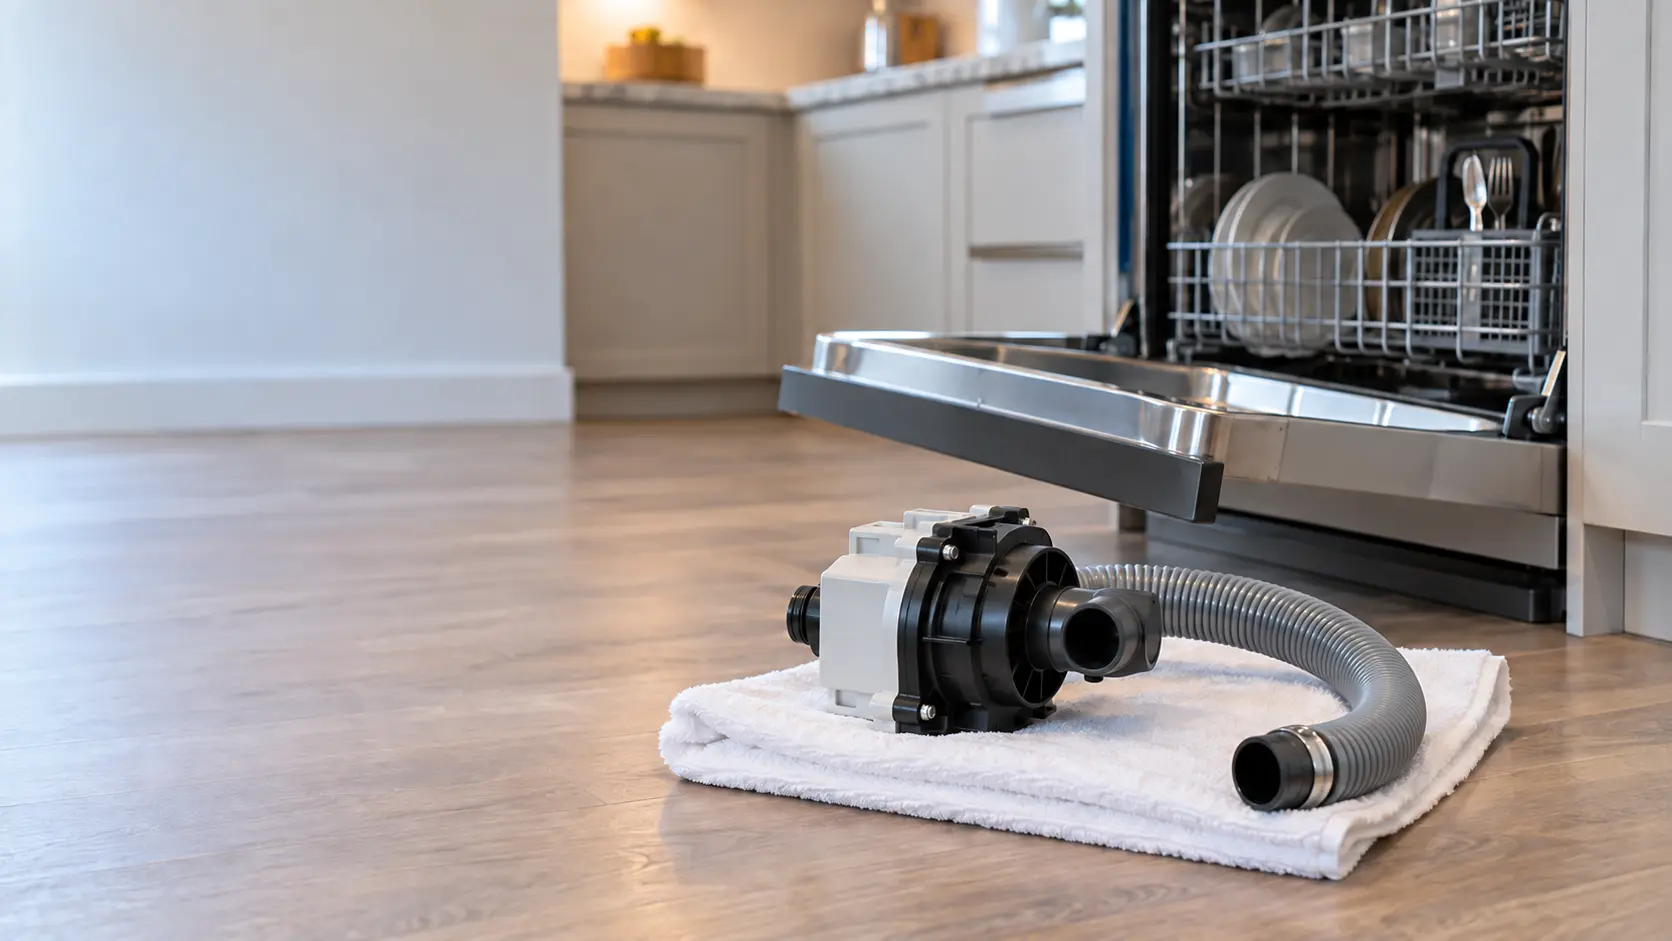
The dishwasher's corrugated drain hose runs from its pump, under the tub and through a hole in the cabinet side, up to a high point under the counter or to an air gap, and then down to the disposal. It slips over the disposal's inlet nipple and is held by a screw clamp or a spring clamp.
When the pump pushes water out, it passes into the disposal's grinding chamber and leaves with everything else through the disposal's outlet and the sink trap. So every drain cycle depends on the disposal chamber and the trap below it being clear.
Because of that shared path, the dishwasher garbage disposal connection is the first place to look whenever one machine starts acting up soon after work on the other.
Kitchens without a disposal
Without a disposal, the hose goes to a branch tailpiece: a section of sink drain pipe with a small angled inlet on its side. The same rules about height and backflow apply, and the branch inlet clogs with grease in much the same way.
Batch-feed and continuous-feed models
Both kinds of disposal carry the same side inlet. The difference is only in how they are switched on, a wall switch versus a stopper in the drain opening, and it does not change how the dishwasher connects.
Source: Whirlpool — Checking the drain loop height — The drain hose rises to a high loop before the disposal
The knockout plug on a new disposal
Disposal makers seal the dishwasher inlet with a thin plastic or metal disc molded inside the nipple, so the unit can be installed in a kitchen with no dishwasher. If a dishwasher will be connected, the disc has to be knocked out before the hose goes on. Installers who replace a disposal in a hurry sometimes skip it, and the first sign is a tub full of standing water after the next cycle.
You can confirm it without tools. Loosen the clamp, pull the hose off the nipple and look inside with a flashlight; a flat wall where there should be an open hole is the plug.
The plug matters only once. After it has been removed, the same disposal can be moved to another sink or reinstalled without any change, and a replacement dishwasher connects to it directly.
- The dishwasher drained normally until the disposal was replaced.
- Water stands in the tub after every cycle from the first day.
- The hose, when removed, shows no residue past the first inch.
- The inlet nipple on the disposal is closed at its inner end.
Source: Whirlpool — Connecting the dishwasher drain to a garbage disposal — Knock the plug into the disposer with a screwdriver, then retrieve it; Whirlpool — Not draining, newly installed — A new install will not drain until the knockout plug is removed

Clearing the plug safely
This is one of the few disposal jobs a careful owner can do, provided the disposal is unplugged or its breaker is off for the whole job. Manufacturers describe the same method in their installation instructions: a screwdriver and a light hammer, then retrieving the disc from inside the chamber.
Gather what you need before the hose comes off, so the disposal is not left half open while you search the garage:
- A flat screwdriver long enough to reach past the nipple
- A small hammer or mallet
- Kitchen tongs or pliers with long jaws
- A flashlight
- A shallow container and a towel for the water left in the hose
Source: Whirlpool — Connecting the dishwasher drain to a garbage disposal — Knock the plug into the disposer with a screwdriver, then retrieve it
Problems that cross from one machine to the other
A disposal that is partly clogged may still grind but drain slowly. The dishwasher's pump pushes water into it faster than it can leave, and the overflow finds the lowest outlet: back through the hose into the tub, or up through the air gap onto the counter.
Food waste packed in the inlet nipple has the same effect. It builds up where the hose meets the disposal because the grinding chamber's spray never reaches that short passage.
Smell travels the same route. A disposal left with food in its chamber overnight can scent the dishwasher next to it, since the hose connects the two air spaces whenever the tub is not full of water.
Leaks at the clamp
A clamp that was tightened on a new hose loosens as the rubber takes a set, and disposal vibration helps it along. A drip that appears only while the dishwasher drains, with a wet patch under the disposal rather than under the dishwasher, often ends with a quarter turn of the clamp screw.
Source: GE Appliances — Built-In Dishwasher Installation Instructions — The dishwasher belongs on an individual branch circuit


