
Why the drain hose has to climb
A dishwasher sits lower than the sink it drains into, and its drain hose connects to the same plumbing the sink uses. Without a rise in between, two things happen. When a full sink is drained, the rush of water down the tailpiece can push waste back along the hose into the tub. And when the dishwasher drains, a hose that runs downhill can keep siphoning water out of the tub after the pump stops, sometimes pulling out fill water during the next wash.
Lifting a section of hose well above the sink drain breaks both paths. Sink water would have to climb uphill to reach the tub, and the siphon loses its pull at the top of the loop.
Signs the loop is missing or has slipped
Owners usually notice it through smell or sight rather than by looking under the sink:
- Gray water or food bits in the tub bottom a day after a clean cycle
- A sour smell from the closed dishwasher that returns quickly after cleaning
- Water standing in the tub after the sink was drained, though the dishwasher was idle
- Poor washing because the tub never holds its full charge of water
Source: Whirlpool — Checking the drain loop height — High loop at least 20 inches above the floor stops backflow and siphoning
What a proper loop looks like
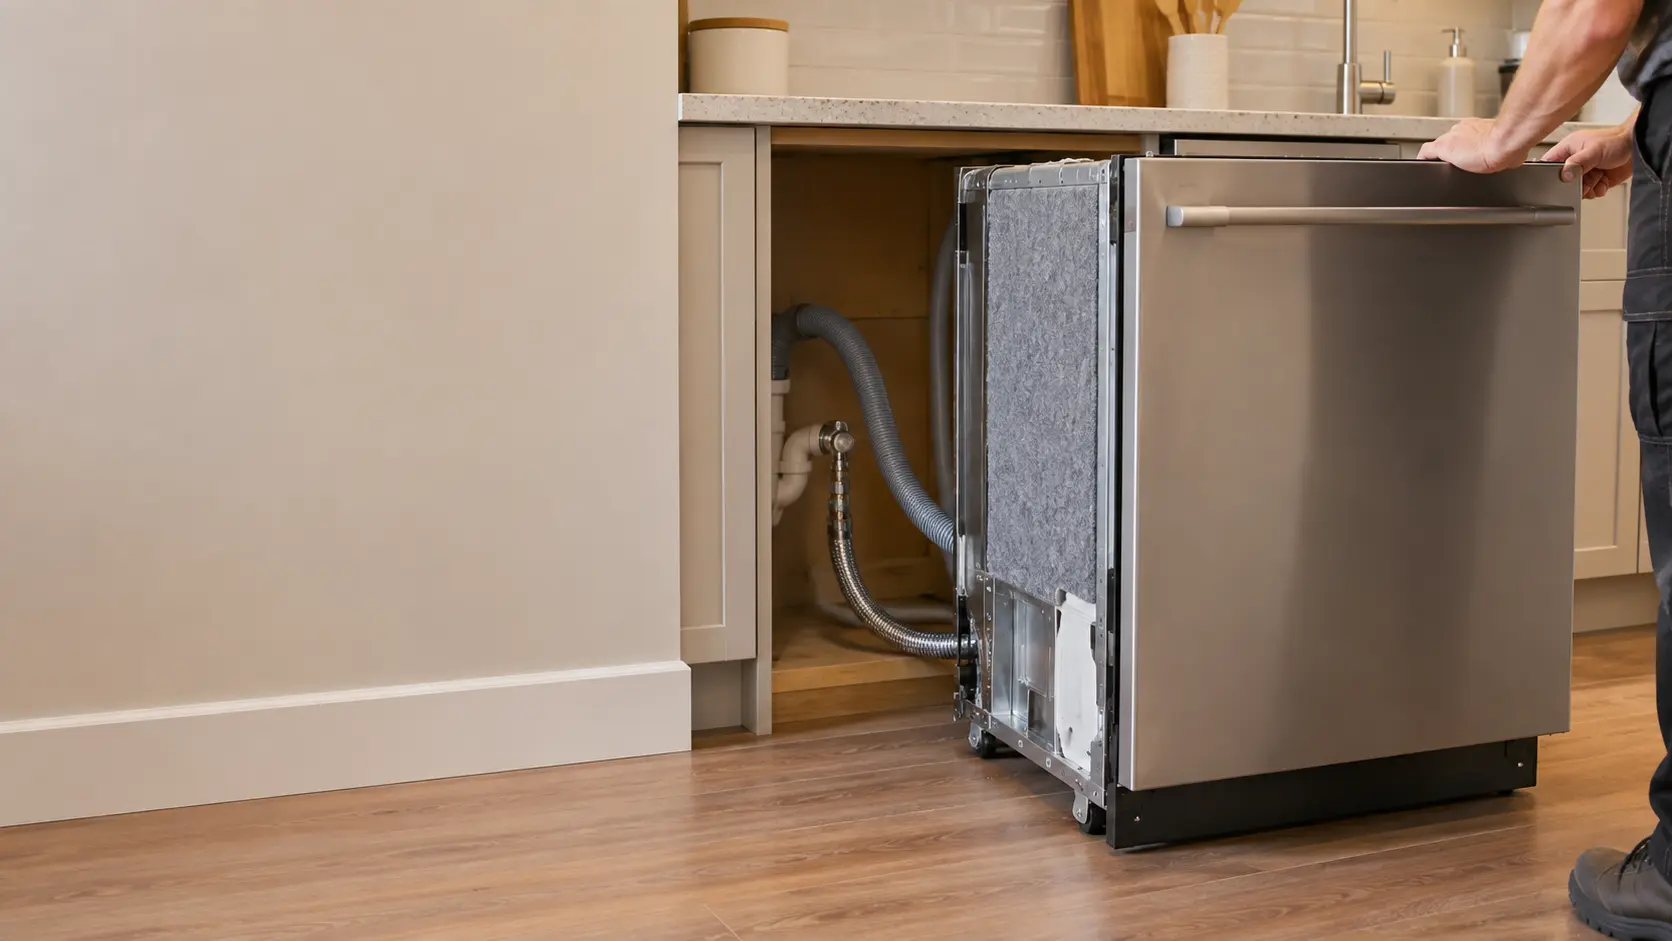
Open the sink base and follow the corrugated hose from where it comes through the cabinet wall. On a good installation it rises in a smooth arc to the top of the cabinet, is held there, and then drops to the disposal inlet or the drain branch. Whirlpool's product help puts the top of that arc at least 20 inches from the floor, and many installers simply take it as high as the underside of the countertop allows.
Loops sag over the years. Cable ties break, adhesive clips let go in the heat, and a hose that was lifted but never fastened settles onto the cabinet floor under the weight of stored cleaning bottles.
How it is held up
A screw-in hose clip or a strap fastened to the back wall of the cabinet, or to the underside of the counter frame, is the dependable way. Some dishwashers come with a clip for the purpose, and a few route the high point inside the machine's own side panel, which the model's installation manual will say.
Kinks and hose length
A tight bend at the top of the loop or where the hose passes through the cabinet wall chokes the flow as badly as a clog. Manuals also give a maximum hose length, because the pump is sized to lift water only so far; an extension spliced in to reach a distant sink can leave water in the tub.
Source: Whirlpool — Checking the drain loop height — High loop at least 20 inches above the floor stops backflow and siphoning; GE Appliances — Built-In Dishwasher Installation Instructions — Drain hose no longer than 12 feet; air gap where local code requires

The air gap and when it is required
An air gap is a short chrome or plastic cylinder mounted through a hole in the sink deck or countertop beside the faucet. Underneath it has two ports: a smaller one that takes the hose from the dishwasher, and a larger one with a hose running down to the disposal or drain branch. Inside, the water crosses an open gap to the air under the cap, so there is no continuous pipe for waste to travel back through.
Whether a kitchen needs one is a question for the local plumbing code rather than for the dishwasher. Some states and cities require it on every dishwasher; many accept a properly fastened high loop instead. Manufacturer manuals generally say to follow local code on this point.
- Water spilling from the air gap cap during draining means the path after it is blocked.
- Clear the disposal inlet first, then the short hose from the air gap to the disposal.
- Twist off the cap and clean the inner tube of the air gap itself.
- Water still spilling after all three points to the house drain.
Source: GE Appliances — Built-In Dishwasher Installation Instructions — Drain hose no longer than 12 feet; air gap where local code requires
Drawers, compacts and panel-ready models
A dishwasher drawer has its own drain hose for each drawer on some models and a shared one on others, and the rules for rising above the drain still apply to each. A countertop compact that drains into the sink bowl through a hose over the rim has the height built in, as long as the end of the hose stays above the water line in the sink rather than lying in it.
Panel-ready machines drain exactly like standard built-ins, with the hose running the same route through the sink base. The custom door front changes nothing under the sink, although a tight cabinet layout beside a panel-ready unit sometimes leaves less room to lift the hose as high as it should go.


