
What holds a built-in in place
A standard 24-inch built-in weighs little when empty and carries most of its load on an open door and two extended racks. Without fastening, it tips forward on its front feet the first time someone leans on the door. The brackets exist to stop that, and to keep the tub square in its opening so the door seals evenly.
Look along the top edge of the door opening with the door down. On most machines you will see a metal tab at each upper corner of the tub, with a screw going up into the counter or sideways into the cabinet.
Under wood or laminate counters
The tabs stay flat and a short screw goes up into the counter's underside or into a wood strip fixed there. The screw length in the kit is chosen so it does not come through the surface, and a longer replacement screw is how some counters end up with a bump or a crack.
Under granite, quartz and other stone
Stone cannot take a wood screw. On most models the same tabs bend or rotate to point sideways and are screwed into the cabinet walls on either side. Some manufacturers supply separate side brackets for this, and a few installers fix a hardwood strip under the stone and fasten into that.
Drawers and compact models
A dishwasher drawer uses side brackets into the cabinet as its main fastening, since a pulled-out drawer with a full load puts the whole weight on the front of the chassis. An 18-inch built-in compact uses the same tabs as a full-size model, while a countertop compact is freestanding and has no brackets at all.
Source: GE Appliances — Built-In Dishwasher Installation Instructions — Top or side brackets by countertop; level both ways; rear leveled from front
Why level matters more than it looks
The tub is shaped to send water back to the sump at its center. When the machine leans toward the front, water sits against the bottom of the door and works past the lower seal. When it leans to one side, the door drops unevenly and the latch strikes off-center.
The effects show up gradually, often after new flooring raised the floor or a heavy item was stored on top of the counter above.
- Drips at one lower corner of the door, often only during the wash
- A latch that needs a push or a slam to catch
- A door that falls open hard or drifts closed on its own
- The door or a decorative panel rubbing a cabinet or a drawer beside it
- An uneven gap between the top of the door and the countertop
Source: GE Appliances — Built-In Dishwasher Installation Instructions — Top or side brackets by countertop; level both ways; rear leveled from front; Whirlpool — Door falls down — Level and square in the cabinet, or the door will not seal

Checking it yourself
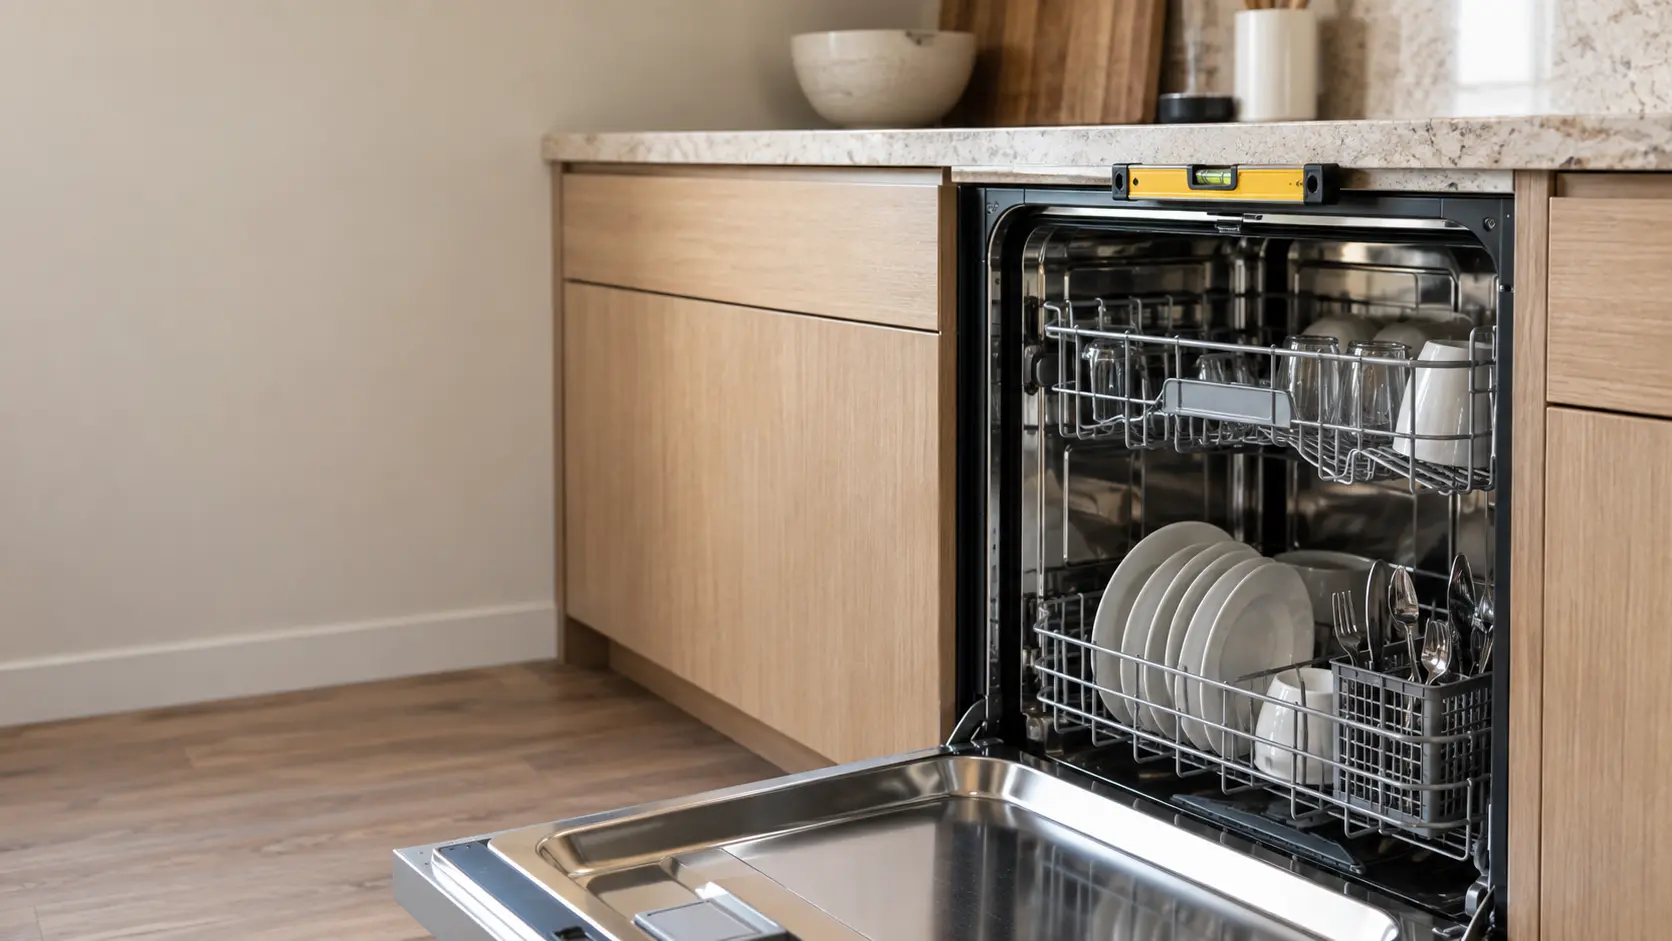
With the machine empty, set a short bubble level across the top of the door opening, then along the side of the tub or on the lower rack's rail with the rack pushed in. Both should read level, side to side and front to back.
Then open the door fully and press down gently on its top edge. A machine that is properly fastened stays put; one whose brackets have let go rocks forward or shifts in the opening.
Before adjusting anything, note what you find so you can compare afterward:
- Which way the bubble leans across the opening, and by how much
- Whether the tub tilts toward the door along the rack rail
- How wide the gap is between the door top and the counter at each corner
- Whether both bracket screws are present and snug
Source: Whirlpool — Door falls down — Level and square in the cabinet, or the door will not seal
Adjusting the feet
The front feet are threaded legs just behind the kick plate, turned by hand or with a wrench once the plate is off. The rear leg is harder to reach, which is why many manufacturers bring it forward as a long adjusting screw under the tub center, turned from the front with a screwdriver or a nut driver.
Raising the machine means first releasing the bracket screws, since the tabs are holding it down. Raise it evenly so the top edge of the tub comes up under the counter without touching it, then refasten.
Panel-ready models deserve extra care here. The custom front adds weight to the door, and the door springs are set for it; a machine that is out of level by even a small amount will show it as a panel that sits crooked against the cabinet fronts on either side, which is often the first thing owners notice.
Source: GE Appliances — Built-In Dishwasher Installation Instructions — Top or side brackets by countertop; level both ways; rear leveled from front
After new flooring or a new countertop
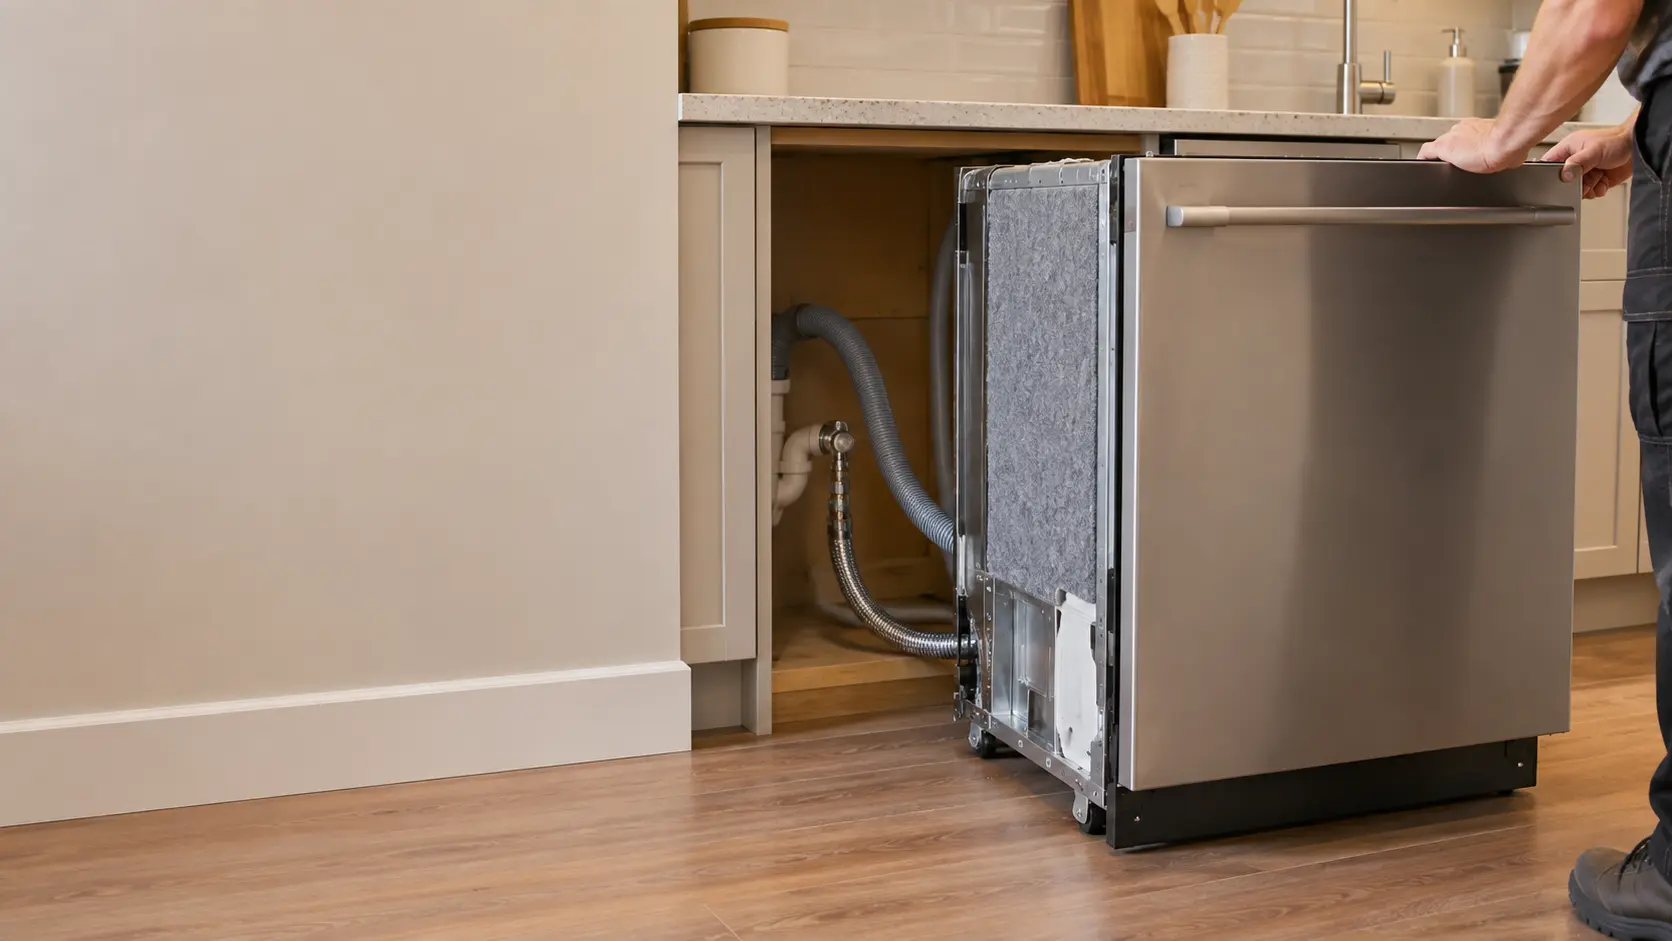
Remodels change the opening a dishwasher was fitted to. New tile laid in front of the machine but not under it can trap the dishwasher, so it cannot be pulled out later without lifting the counter or cutting the floor. A thicker stone countertop can lower the opening height enough that the tub no longer clears it once the feet are raised.
If a remodel is planned, ask the flooring crew to run the new floor under the dishwasher space and ask the counter fabricator how the machine will be fastened. Both conversations are easier before the work than after it.