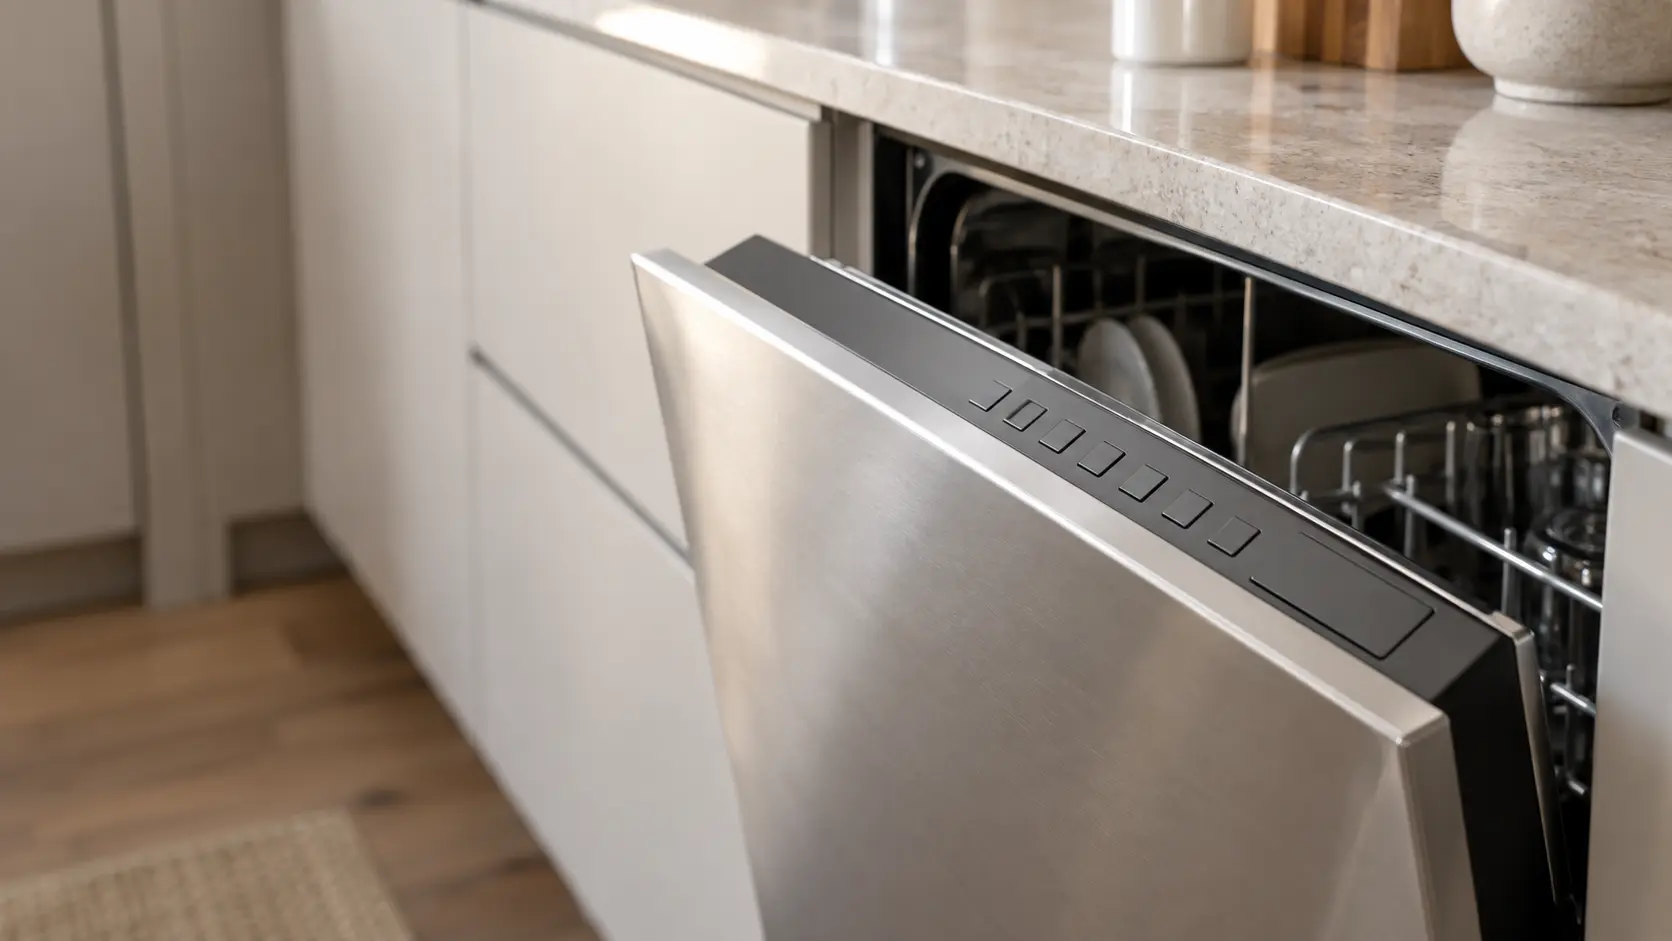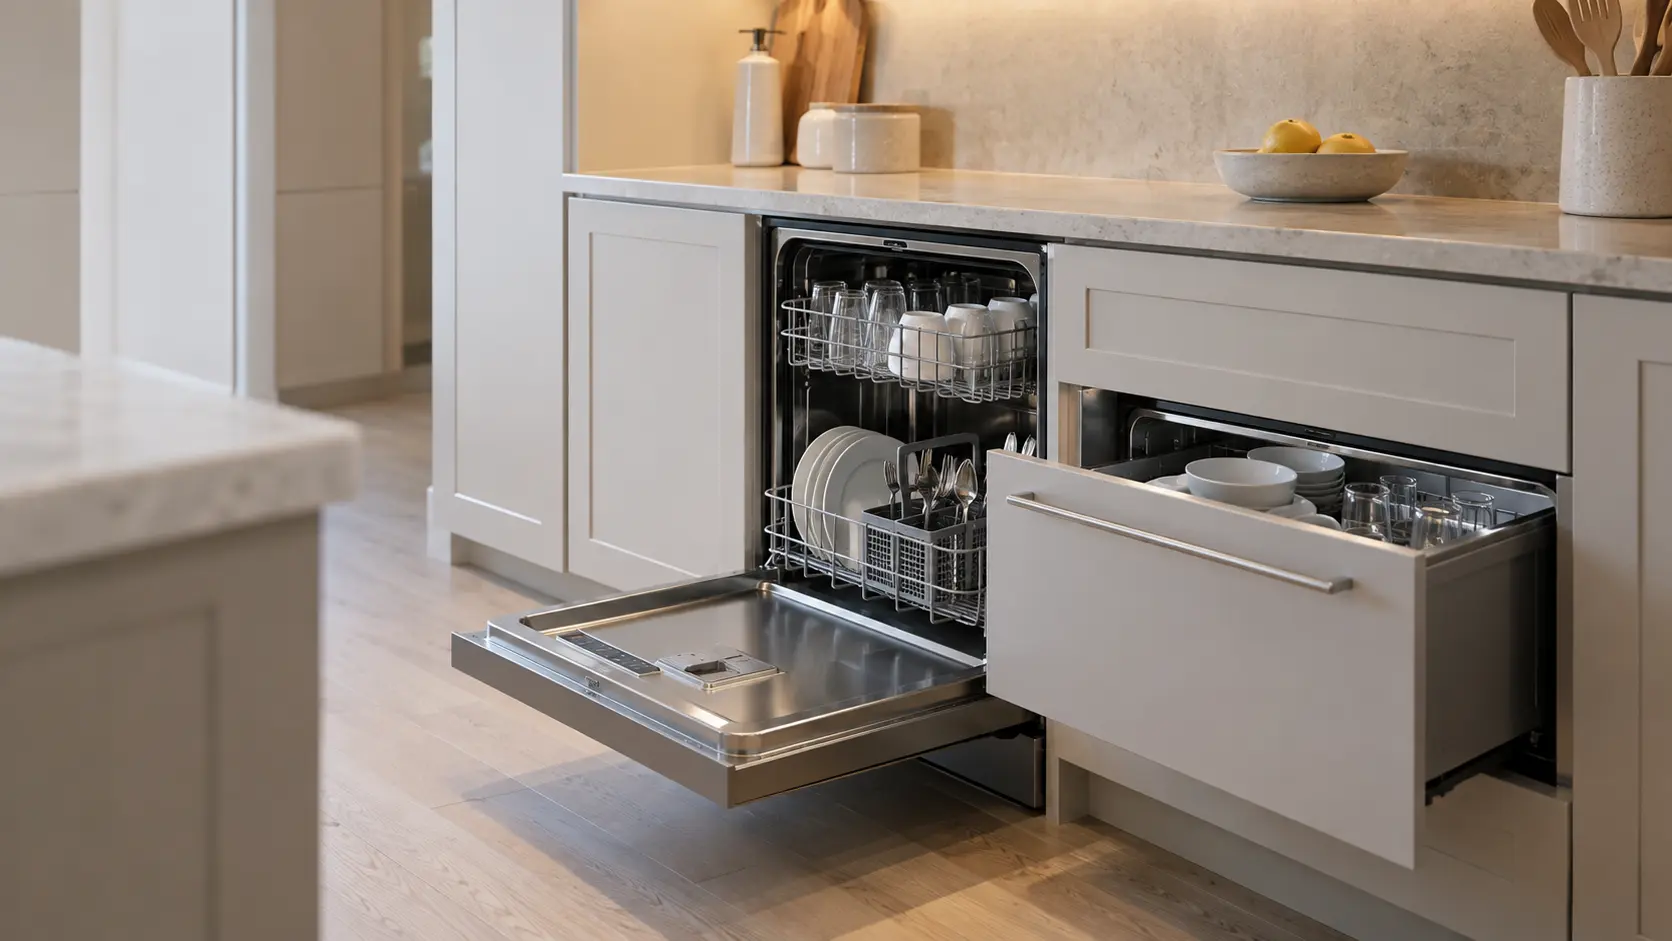

How the panel attaches
The dishwasher arrives with a bare metal or plastic outer door. A template in the installation instructions shows where to drill, and the panel fixes to the door with screws driven from inside the door frame, so nothing shows on the face. The handle, if there is one, bolts through the panel rather than the machine.
Many models also accept a matching toe kick, so the bottom of the dishwasher lines up with the cabinet plinth beside it. Getting that right takes some patience: the panel has to clear the countertop above and the kick below every time the door swings.
Thickness and edges
Instructions usually specify a panel thickness range as well as weight. A panel that is too thick can bind against the neighboring cabinet doors or the counter edge when opened, which chips paint and eventually pulls the panel loose from its screws.
Weight and the door springs
The door of a dishwasher is balanced by springs, or springs and cables, at each side of the base. They are sized for the door plus a panel within a stated weight range. Solid hardwood, stone inlays or heavy glass push a panel past that range surprisingly quickly.
- A door that drops and slams open means the panel is heavier than the springs are set for.
- A door that creeps up on its own, or will not stay open at the loading position, means the panel is lighter than expected.
- A door that has behaved for years and then suddenly drops points to a snapped spring or a failed cable.
Adjustment and heavier spring kits
Many machines let the installer change spring tension or fit a heavier spring set offered for the model. That setting is part of the installation, not a one-time choice, and it should be checked if the panel is ever swapped for a different material.
What an overweight panel does over time
Overloaded springs stretch and break early, and a slamming door stresses the hinge arms, the door latch and the racks inside. Fixing the spring is a routine repair, but it will recur if the panel stays heavier than the range allows.
Source: Whirlpool — Adjusting door spring tension — Door spring tension adjusts on some models, set the same on both sides

Service and replacement
Most work on a panel-ready machine happens from the front, behind the toe kick, exactly as on a machine with a factory door. Door jobs are different: replacing springs, the latch or the inner door skin can mean taking the panel off first, and it has to go back on square.
When the machine eventually needs replacing, the question is whether a new model accepts the existing panel. Mounting holes can be redrilled, but the panel's height and weight must fall inside the new machine's range. Keeping the installation guide and noting the panel's weight saves a long search later.
A technician who knows the panel is coming off will bring a second pair of hands and a padded surface to lay it on, so it is worth mentioning when you book.
Before the cabinetmaker builds the panel
Choose the exact dishwasher model first, then have the panel made. Doing it the other way around is the most common reason a panel-ready dishwasher ends up with a door that will not stay put or a gap along the counter.
- Download the installation guide for the exact model and give the cabinetmaker the panel template page.
- Confirm the allowed weight, thickness and height, and whether a toe-kick panel is supported.
- Decide on the handle, or on a push-to-open design, before the holes are drilled.
- Ask for all six faces of the panel to be sealed against steam and splashes.
- Keep a note of the finished panel weight with the appliance paperwork.
Matching the neighboring doors
The dishwasher door sits on the machine's hinges, not the cabinet's, so it opens in a different arc from the doors beside it. A small reveal on each side keeps the panel from rubbing, and the installer levels the machine so that the gap stays even from top to bottom.
Source: GE Appliances — Built-In Dishwasher Installation Instructions — Door and control panel must not touch adjacent cabinets or countertop